PopART
The Pop art movement is defined by themes and techniques drawn from the popular mass culture. Areas like advertising, mundane cultural objects and comic books. This art movement is considered a reaction to the ideas of abstract expressionism. Pop Art employed images of popular culture in art, emphasizing banal elements of any culture, usually through the use of irony.
Bellringer: Read "20 Things you didn't know about Pop Art and Graphic Design." Post one idea or characteristic you didn't know about the movement.
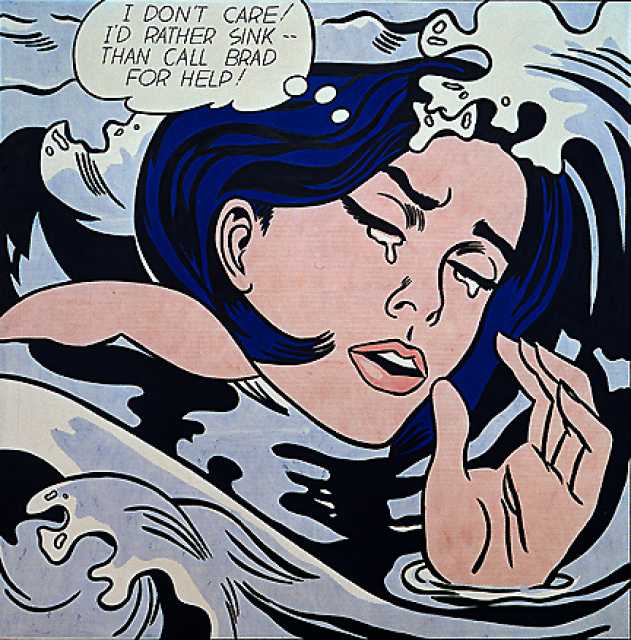
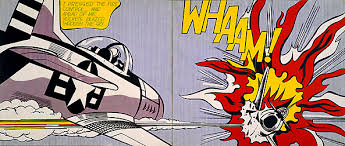
Roy Lichtenstein became one of the leading pop artists of the sixties with his comic-strip paintings. Drowning Girl 1963, shown below, is one of his better known works and is a good example of the design features in his most famous pieces. Notice the thick lines, bold colors, and thought bubble. His work also often included boxed captions and words such as "WHAAM!", commonly found in comic books. Benday dots were Lichtenstein's trademark. Benday dots are a printing process which combines two (or more) different small, coloured dots to create a third colour. Back in the day, pulp comic books used benday dots in primary colours to inexpensively create the secondary colours such as flesh tone.
|
|
Focus Question: How can we use Adobe Photoshop to create a Roy Lichtenstein painting on a computer?
Assignment: Recreate this style with an image of you.
Steps:
1. Find a Roy Lichtenstein piece of artwork that you would like to use as your visionary piece.
2. Remove the background from your image by making a very accurate selection, make sure to use refine edge and zoom in!
3. Either use the video above or use my directions below to create your artwork.
4. Make sure to add a speech bubble.
5. Upload and reflect on your website.
6. The writing piece below will need to be finished on your own time at home and turned in by due date.
7. Open rubric below during step 3 and make sure you have included all requirements.
1. Duplicate the image layer and change the new layer’s blending mode to Dodge. (You can use the keyboard shortcut Ctrl/Cmd + Alt/Opt +J.) Name this layer “Blurred.” You’ll soon see why.
2. Invert the “Blurred” layer using Ctrl I. This makes the image appear white.
3. The next step is to apply a little Gaussian Blur to the Blurred layer. You will see a colored line drawing start to appear. The beauty of this method is that the blur radius controls the line length.
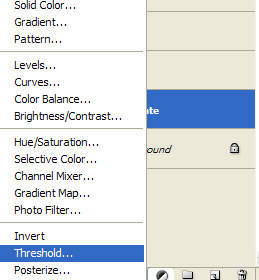
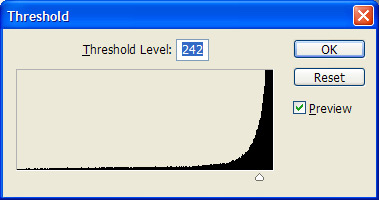
4. To remove the color, click the “Create new fill or adjustment layer” icon in the Layers palette and select Threshold. Drag the slider until the line drawing includes all key details, such as the eyes. Because it’s an adjustment layer, you can fine-tune it later.
5. You can use more than one Threshold adjustment layer and paint black on their masks. Drag the Threshold slider up to 255 to produce detail in the girl’s hair.
6. For each primary color you want to use, add a new layer and change its blending mode to Multiply. Set the foreground color to your primary color and make the background white, then paint on the layer with the Brush tool (shortcut B).
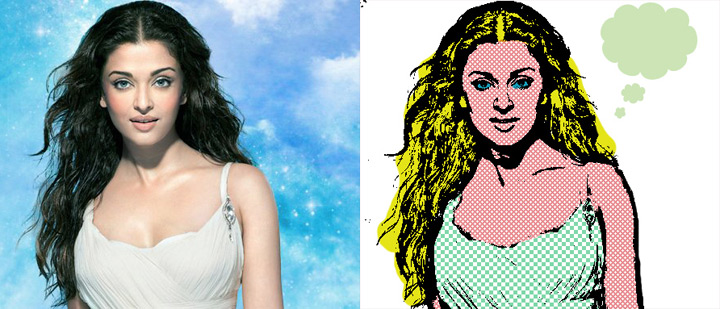
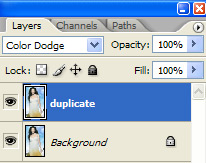
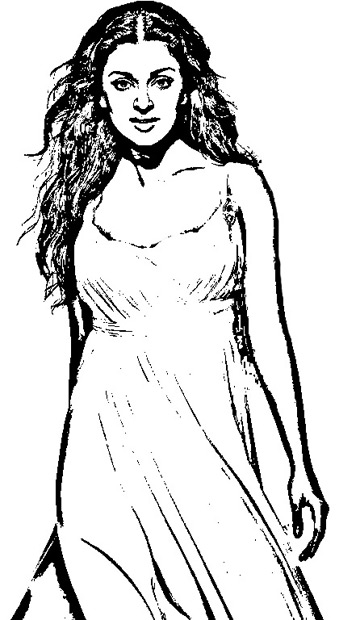
Step 1: Open the Image you like to convert into the comic strip. Duplicate the layer and change the mode of the duplicate layer to “Color Dodge”.
Step 2: Press Ctrl + I to invert the duplicate image. This makes the image appears white.
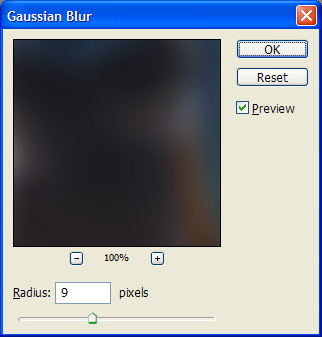
cool?Step 3: Apply Filter > Blur > Gaussian Blur to the duplicate layer. You will see a colored line drawing start to appear. When you increase the blur strength that controls the line strength. Don’t you think it’s cool?
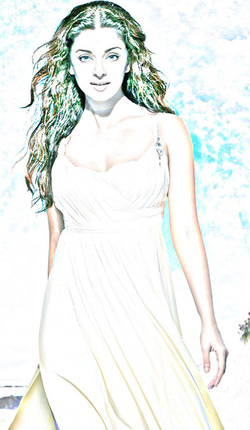
Step 4: To remove the colors create a new Threshold Adjustment layer from the button in the layers palette. Adjust the slider until you see all the required details in the scene. Also create a new layer and paint with white color to remove the unwanted spots in the image. You are thinking why follow so many steps and just applying a Threshold on the main layer will give us same result but actually this method gives you more control on the lines that you don’t get if applied the threshold directly
|
|

|
|
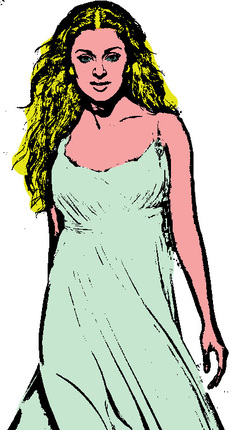
Step 5: Create a new layer and change the blending mode to multiply. Start painting with different colors to different parts of the body on different layers.
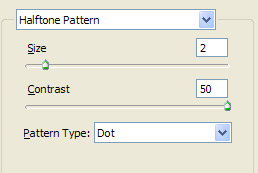
Step 6: To make a colored layer into halftone pattern. Choose Image > Adjustments > Threshold and drag the slider to the left until the color disappears.
Step 7: Select Filter > Sketch > Halftone Pattern and move the contrast slider to the right and adjust the size of the checks and click Ok. Remember one thing colors selected as a foreground and background in the tools palette will come in the halftone and final output, nothing to do with the colors you painted in multiply layer.
Step 7: Select Filter > Sketch > Halftone Pattern and move the contrast slider to the right and adjust the size of the checks and click Ok. Remember one thing colors selected as a foreground and background in the tools palette will come in the halftone and final output, nothing to do with the colors you painted in multiply layer.
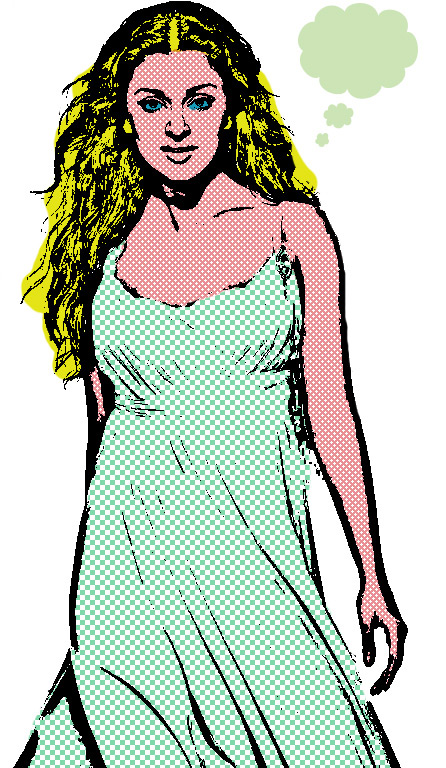
You can add talk bubbles or something else according to the script requirement or giving any different look.
